Basic User Lifecycle Workflow
Summary
This note is a simple workflow for thinking through common user lifecycle tasks in Microsoft-oriented admin work. The goal is to build a repeatable model for onboarding, changes, and offboarding rather than memorising one portal view.
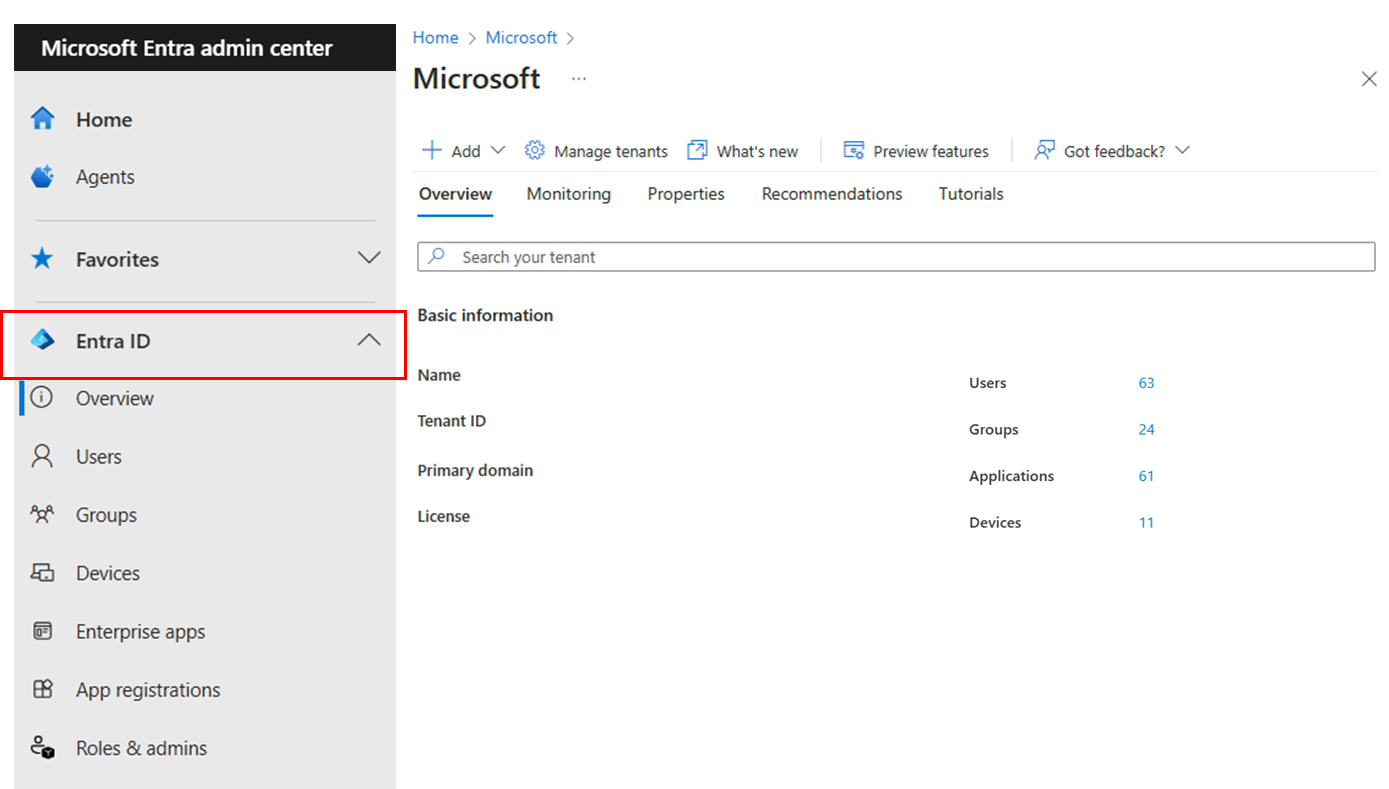
Official Microsoft screenshot showing the identity area in the Entra admin center, which is the kind of view lifecycle work often starts from.
Why this matters
- user lifecycle work appears in IT support, admin, and modern workplace roles constantly
- many Microsoft tasks connect identity, access, groups, devices, and apps
- a structured workflow reduces missed steps and support confusion
Environment / Scope
| Item | Value |
|---|---|
| Topic | user lifecycle basics |
| Best use for this note | onboarding, change, and offboarding thinking |
| Main focus | account, access, membership, device considerations |
| Safe to practise? | yes |
Key concepts
- lifecycle tasks are usually not just “create user”
- account state, groups, apps, and device context often move together
- support quality improves when the workflow is consistent
Steps / Workflow
1. Identify the lifecycle stage
For example:
- new starter
- role change
- access change
- offboarding
2. Confirm identity state
Check:
- user exists
- account is enabled or disabled as expected
- naming and basic identity details are correct
3. Check group and access context
Ask:
- which groups should this user belong to?
- what access should they gain or lose?
- are licenses or app assignments part of the workflow?
4. Check device or endpoint context if relevant
If the task involves managed devices, confirm:
- expected device exists
- enrollment or assignment context makes sense
- device-related access is not being missed
5. Record the outcome clearly
Make it obvious:
- what changed
- what remains pending
- what should be validated next
Commands / Examples
| Check | Why it helps |
|---|---|
| review user state | confirms identity exists and is in the expected state |
| review group membership | confirms access path |
| review device context if relevant | confirms endpoint-related part of the workflow |
| verify with a real task outcome | confirms admin work matches user expectation |
Example check pattern in PowerShell
# Review a user first
Get-MgUser -UserId user@contoso.com

# Then review group membership or assigned path
Get-MgUserMemberOf -UserId user@contoso.com
Even if the exact tooling changes, the pattern stays useful:
- check identity first
- then check access path
- then confirm whether devices or assignments are also involved
Verification
| Check | Expected result |
|---|---|
| Identity is correct | user state matches intended lifecycle stage |
| Group or access changes are correct | expected access path exists |
| Device context is correct if relevant | managed endpoint side makes sense |
| Outcome is explainable | you can describe what changed and why |
Pitfalls / Troubleshooting
| Problem | Likely cause | What to check |
|---|---|---|
| User exists but still lacks access | missing group, assignment, or app context | access path, identity state |
| Change affects only one part of the workflow | process too portal-specific | lifecycle model end to end |
| Offboarding feels incomplete | focus stayed only on account state | groups, devices, remaining access |
| Support notes are vague | no clear record of what changed | explicit before/after state |
Key takeaways
- user lifecycle work is usually identity plus access plus sometimes device state
- a repeatable workflow helps reduce missed steps
- good admin notes should make the outcome easy to explain later